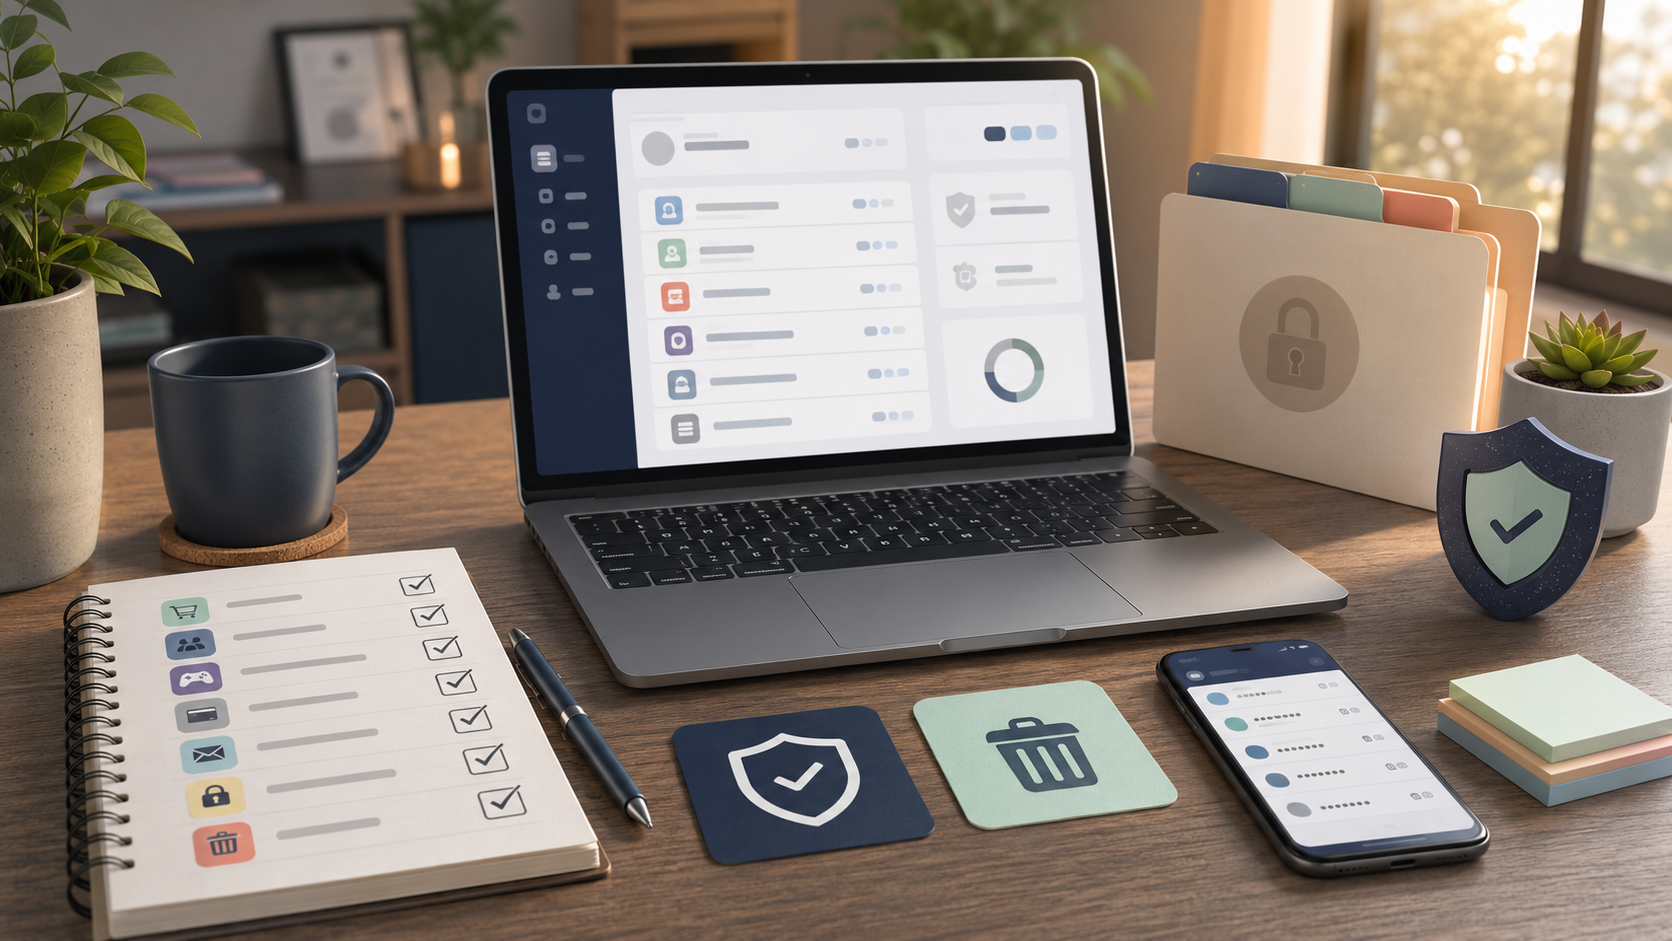
How to Clean Up Old Online Accounts You No Longer Use
Old online accounts are easy to forget.
A shopping site you used once.
A gaming account from years ago.
A forum profile.
A trial subscription.
A food delivery account in another city.
A social app you stopped using.
A learning platform you joined for one course.
An old email login connected to several services.
You may not use these accounts anymore, but they may still hold your personal data.
They may contain:
name
phone number
email address
home address
old passwords
saved cards
order history
photos
messages
location history
saved documents
birth date
usernames
recovery email
linked social accounts
An abandoned account is like an unlocked storage box you forgot you left behind. Maybe nothing happens. But if that service has a data breach, weak security, old password reuse, or poor account recovery controls, the forgotten account can become a problem.
Cleaning up old accounts reduces your exposure.
You do not need to delete your entire digital life. The goal is simple: find accounts you no longer need, protect the important ones, delete the unnecessary ones, and remove personal information where deletion is not possible.
Why Old Accounts Are Risky
An old account can be risky even if you never log in.
It May Have Personal Data
Shopping accounts may store addresses, phone numbers, order history, and saved payment methods. Social and gaming accounts may store photos, chats, usernames, and friend lists.
It May Use an Old Password
Many people reused the same password across old accounts. If one old account is compromised, someone may try that password elsewhere.
It May Still Be Connected to Your Email
An old account may still send password resets, alerts, receipts, and recovery messages to your main email.
It May Have Weak Settings
Old accounts may not have two-factor authentication, login alerts, or updated recovery details.
It May Be Forgotten During a Breach
If a service you no longer use is breached, you may not notice quickly because you stopped checking that account years ago.
The safest old account is one that is either properly deleted or secured with minimal personal data.
Step 1: Make a List of Accounts
Start by finding the accounts you have.
Do not try to remember everything from your head. Search your email.
Look for words like:
welcome
verify your account
confirm your email
reset password
invoice
receipt
subscription
trial
order confirmation
account created
login alert
membership
username
password reset
security code
Check:
main email inbox
old email inboxes
password manager
browser saved passwords
phone saved passwords
app store subscriptions
payment app history
bank/card statements
old SMS messages
social login settings
cloud storage
old notebooks where passwords were written
Create a simple list with three columns:
Account name
Still needed?
Action needed
Do not clean everything on the first day. First identify.
Step 2: Sort Accounts Into Four Groups
Once you have a list, divide accounts into four groups.
Group 1: Keep and Secure
These are accounts you still use or may need.
Examples:
email
banking
payment apps
phone account
cloud storage
important shopping accounts
work tools
school portals
insurance
government or tax services
medical portals
important subscriptions
These should be protected, not deleted.
Group 2: Delete
These are accounts you do not need anymore.
Examples:
old shopping sites
unused forums
old gaming accounts
expired trial services
one-time event sites
inactive social apps
unused learning platforms
duplicate accounts
abandoned newsletters with login profiles
Group 3: Reduce Data
Some accounts cannot be deleted easily, or you may want to keep order history or access temporarily.
For these, remove unnecessary data.
Group 4: Investigate
These are accounts you do not recognize or cannot access.
Do not ignore them. They may be old accounts, fake accounts, or services you forgot.
Step 3: Secure Important Accounts First
Before deleting old accounts, secure your important accounts first.
Start with:
email
bank
payment apps
phone account
cloud storage
password manager
main shopping accounts
social media accounts
accounts used for password recovery
For each important account:
use a strong, unique password
turn on two-factor authentication if available
update recovery email and phone number
remove old devices
review logged-in sessions
check connected apps
turn on login alerts
remove saved payment methods you do not need
Why do this first?
Because your email and payment accounts may be needed to delete or recover old accounts. If your main email is weak, the cleanup process itself becomes risky.
Step 4: Use Unique Passwords Before Deleting
If an old account uses a password you reused elsewhere, change the password on important accounts first.
Example:
Your old gaming account used the same password as your shopping account.
Do not only delete the gaming account.
Also change the shopping account password.
Why? If that old password was already exposed somewhere, deleting one account does not protect the other accounts using the same password.
Use a password manager or your device’s built-in password system if it helps you create and store unique passwords.
A strong cleanup is not only account deletion. It is removing password reuse.
Step 5: Remove Saved Payment Details
Before deleting or abandoning an account, check payment settings.
Remove:
saved credit cards
saved debit cards
saved bank accounts
wallet links
payment app links
billing address
auto-renewal
default payment methods
subscriptions
This matters for shopping, delivery, travel, subscriptions, gaming, apps, learning platforms, and memberships.
Also check whether removing the payment method cancels the subscription. Often it does not. You may need to cancel separately.
Step 6: Cancel Active Subscriptions and Trials
An old account may still be charging you.
Check:
monthly subscriptions
annual subscriptions
free trials
premium memberships
cloud storage
gaming subscriptions
learning subscriptions
delivery memberships
app subscriptions
newsletters
software tools
Cancel from the correct place.
Some subscriptions must be canceled through:
the website
app store
payment provider
bank mandate
original platform
customer support
After canceling, save proof.
Keep:
cancellation confirmation
email receipt
screenshot
date canceled
final billing date
support ticket number
Do not assume uninstalling an app cancels payment.
Step 7: Download Anything You Need
Before deleting an account, check whether you need records.
You may want to save:
invoices
receipts
warranty proof
order history
tax-related records
certificates
course completion proof
photos
messages
contacts
documents
subscription cancellation proof
Do not download everything automatically. Save only what you may reasonably need.
For sensitive documents, store them securely.
Step 8: Delete the Account Where Possible
Look for account deletion options in:
account settings
privacy settings
profile settings
security settings
help center
data settings
subscription settings
contact support page
Search the site help page for:
delete account
close account
deactivate account
remove profile
data deletion
privacy request
account closure
Be careful with the difference between deactivate and delete.
Deactivate may only hide the profile.
Delete may remove the account after a waiting period.
Close may stop access but keep some records for legal or business reasons.
Read what the platform says will happen.
Step 9: If You Cannot Delete, Reduce
Some services make deletion hard. Some keep accounts for legal, financial, or transaction-record reasons. Some offer deactivation but not full deletion.
If you cannot delete the account, reduce what it holds.
Remove or edit:
saved cards
saved addresses
profile photo
phone number, if not required
unnecessary personal details
connected social accounts
linked apps
public profile information
old posts
location settings
contact syncing
marketing preferences
stored documents
saved devices
Then change the password to a strong unique one and turn on two-factor authentication if available.
Reducing data is better than leaving a fully loaded old account untouched.
Step 10: Check Social Login Connections
Many people use “Sign in with” buttons to create accounts quickly.
Check your major accounts for connected services.
Look at:
Google account connections
Apple sign-in connections
Facebook app connections
Microsoft account connections
gaming platform connections
email account connected apps
Remove access for apps and services you no longer use.
Connected apps can sometimes access profile information, email address, contacts, files, or other data depending on permissions granted. Review these connections carefully.
Step 11: Clean Up Public Profiles
Some old accounts may still be visible publicly.
Search your own name, usernames, old email address, and common handles.
Look for:
old forums
social profiles
review accounts
gaming profiles
public wishlists
old bios
old photos
abandoned blogs
old resumes
event profiles
school or club pages
If you find public information you no longer want online, log in and remove it if possible.
If you cannot access the account, use the site’s recovery or support process.
Step 12: Update Recovery Details
Old accounts sometimes remain linked to old recovery emails or phone numbers.
Check important accounts for:
recovery email
recovery phone
backup codes
security questions
trusted devices
backup contacts
Remove details you no longer control.
Examples:
old work email
college email
old phone number
shared family email
recovery number you lost
security question with public answer
Recovery information is part of account security. Keep it updated.
Step 13: Keep a Simple Account Register
After cleanup, create a basic register for important accounts.
You do not need to write passwords in a notebook. A password manager can handle that.
Your register can simply list:
account name
purpose
email used
2FA enabled
recovery updated
subscription active or canceled
delete or keep status
This helps future cleanup.
Review it every six months.
A Simple 30-Minute Cleanup Plan
Use this routine if the task feels too big.
First 10 Minutes: Find Accounts
Search your email and password manager. List 10 accounts.
Next 10 Minutes: Sort Them
Mark each account:
keep
delete
reduce data
investigate
Last 10 Minutes: Clean Three Accounts
Do not try to finish everything.
Pick three easy accounts and:
cancel subscription if active
remove payment method
download needed records
delete account or reduce data
save confirmation
Do this once a week for a month and you will clean up more accounts than most people ever do.
Realistic Example 1: The Old Shopping Account
A reader used a shopping site once three years ago. The account still has a home address, phone number, order history, and saved card.
Cleanup:
log in from official site
remove saved card
delete old address
download receipt if needed
close account if no longer needed
change password if reused elsewhere
Lesson: one-time shopping accounts can hold more data than expected.
Realistic Example 2: The Forgotten Gaming Account
A gaming account uses an old password that was reused across other sites. The reader no longer plays the game.
Cleanup:
change passwords on important accounts first
log in to gaming account
remove payment method
disable public profile if needed
delete or secure account
turn on 2FA if keeping it
Lesson: old gaming accounts can still expose usernames, payment methods, and reused passwords.
Realistic Example 3: The Old Social App
A reader stopped using a social app but the public profile still shows a photo, old bio, and location hints.
Cleanup:
log in
remove public details
download photos if needed
delete posts or profile
close account if possible
search username again later to confirm visibility changed
Lesson: unused social profiles can still reveal personal information.
What Not to Do During Cleanup
Do not click random “delete account” links from emails.
Go to the official website or app yourself.
Do not enter passwords on pages reached through suspicious links.
Do not reuse the same new password for multiple accounts.
Do not delete accounts that hold needed records before downloading them.
Do not remove access to an account before canceling paid subscriptions.
Do not share OTPs or recovery codes with anyone claiming to help delete an account.
Do not install unknown cleanup tools that ask for access to all your accounts.
Account cleanup should reduce risk, not create new risk.
Common Mistakes
Mistake 1: Deleting the App Instead of the Account
Uninstalling an app usually removes it from your device. It does not necessarily delete your account or cancel your subscription.
Mistake 2: Forgetting Saved Cards
Old accounts may still have payment details saved.
Mistake 3: Keeping Reused Passwords
If an old password was reused, change it everywhere important.
Mistake 4: Ignoring Social Login
Apps connected through a major account may still have access.
Mistake 5: Deleting Before Saving Proof
Download receipts, invoices, warranty details, or certificates before closing accounts.
Mistake 6: Leaving Recovery Details Old
Old phone numbers and emails can create recovery risk.
Mistake 7: Trying to Finish Everything in One Day
Account cleanup is easier in small sessions.
Mistake 8: Trusting Public Search Alone
Some accounts do not appear in search but still store data privately.
When to Be Careful
Be extra careful when cleaning accounts that involve:
banking
payment apps
tax records
insurance
medical records
government services
school accounts
work accounts
cloud storage
family photos
legal documents
warranties
active subscriptions
loans or payment plans
Do not delete important accounts without understanding record access, legal requirements, payment status, and recovery options.
For work or school accounts, follow the organization’s rules. Do not delete data that belongs to an employer, school, or client without permission.
For accounts that may involve identity theft, unauthorized activity, or financial loss, contact the service provider through official channels and keep evidence.
Final Takeaway
Old online accounts do not become harmless just because you stopped using them.
They may still hold personal data, saved payment methods, reused passwords, old addresses, recovery details, and public profile information.
A good cleanup process is simple:
find forgotten accounts
secure important accounts first
remove saved cards and personal details
cancel subscriptions
download records you need
delete accounts you no longer use
reduce data where deletion is not possible
remove connected apps
update recovery details
keep a basic account register
Digital cleanup does not need to be perfect. Even deleting or reducing a few old accounts each week can lower your exposure and make your online life easier to manage.
Reader Discussion
Comments
Comments are reviewed before appearing publicly.Reader comments