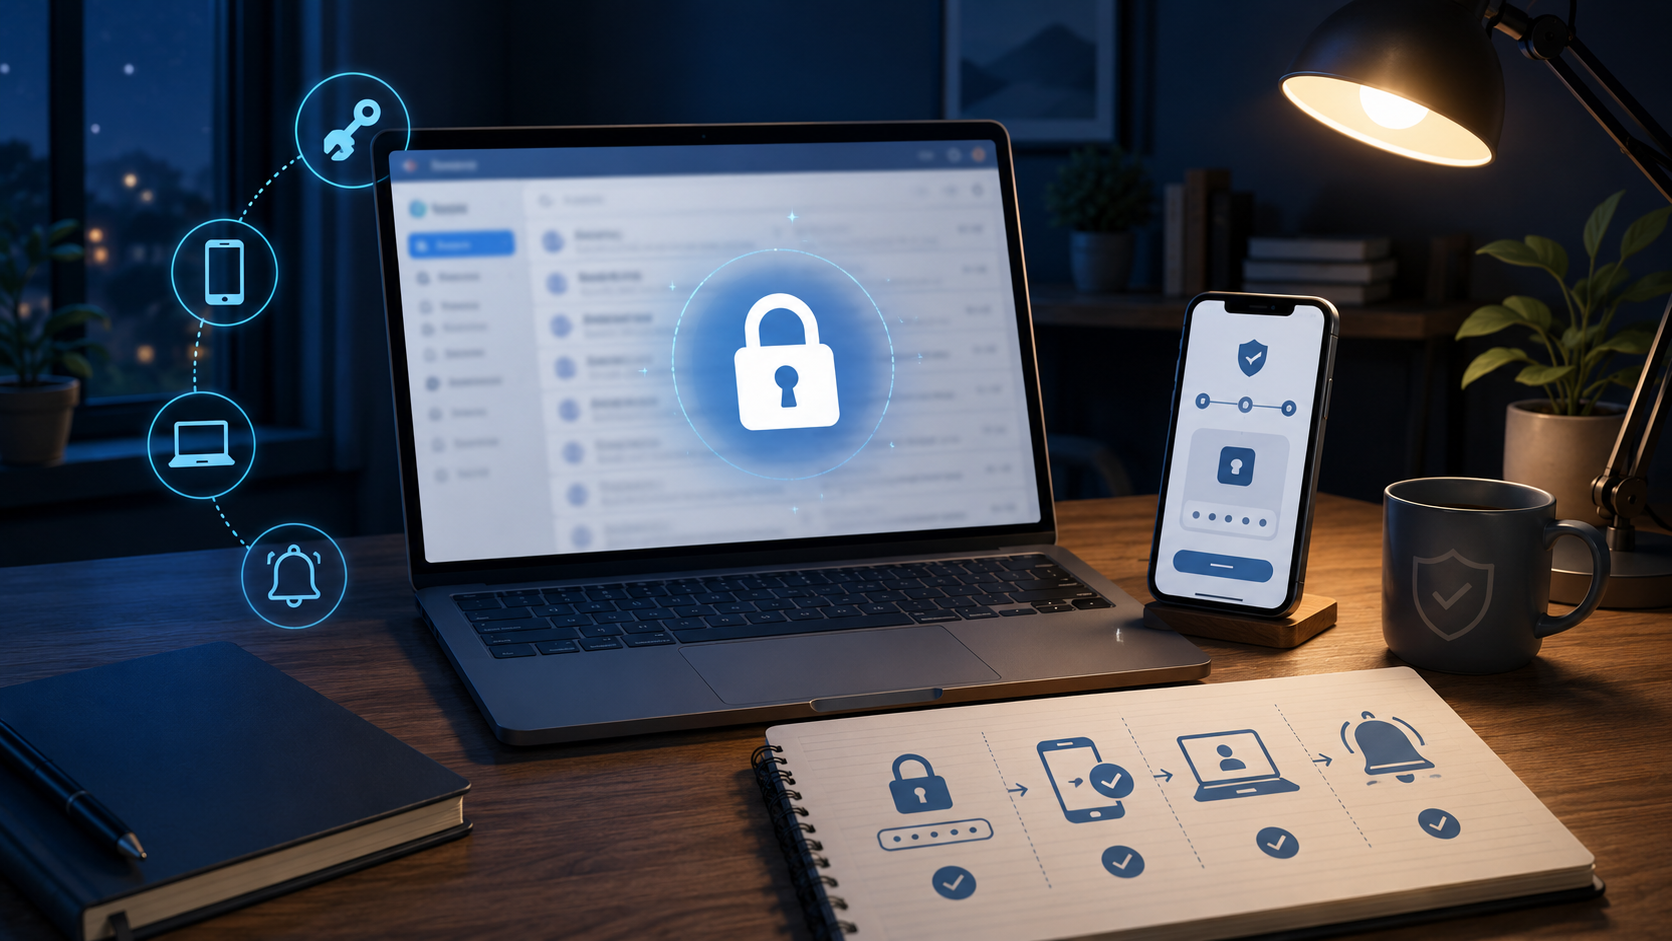
A Beginner’s Guide to Securing Your Email Account
Most people think of email as a place for messages.
That is too small.
Your email account is often the master key for your online life. It may be connected to your bank alerts, shopping accounts, social media profiles, cloud storage, phone backups, payment receipts, tax documents, job applications, school updates, travel bookings, and password resets.
If someone gets into your email, they may not need your other passwords at first. They can use your email to reset them.
That is why email security matters even if you think, “There is nothing important in my inbox.”
There probably is.
This guide is for beginners. No technical knowledge is required. The goal is to make your email account harder to break into and easier to recover if something goes wrong.
First, Understand Why Email Is So Important
Email is not only a communication tool. It is usually a recovery tool.
When you forget a password, where does the reset link go?
Your email.
When a shopping account sends an order receipt, where does it go?
Your email.
When a bank sends alerts, where do many people receive them?
Email.
When a social media account needs confirmation, where does it often send the link?
Email.
That means your email account may reveal:
where you shop
which banks or services you use
what phone number or address may be linked
password reset links
invoices and receipts
private documents
family or work communication
travel details
account verification messages
A weak email account makes other accounts weaker.
The Beginner Rule: Secure Email Before Everything Else
If you only have time to secure one account today, secure your main email first.
Especially secure the email used for:
online banking
shopping
payment apps
social media
cloud storage
work applications
government or tax services
school or child-related accounts
phone backup or app store account
If you use multiple emails, identify your “main recovery email.” That is the one to protect first.
Step 1: Change to a Strong, Unique Password
Your email password should not be reused anywhere else.
Not for shopping.
Not for social media.
Not for streaming.
Not for a small website you signed up to years ago.
Why? If another website is breached and you reused the same password, someone may try that password on your email account.
A good email password should be:
long
unique
hard to guess
not based on your name, birthday, phone number, child’s name, pet name, vehicle number, or favorite team
not reused from another account
not a small variation of an old password
Bad examples:
Rahul@123
Password2023
Chennai123
Myname@2022
phone number plus initials
child name plus date of birth
Better approach:
Use a long passphrase or a password generated and stored by a reputable password manager or your device’s built-in password system.
Example format for a passphrase:
four or more unrelated words with extra characters
Do not use this exact example, but the idea is:
river-table-window-plant-47
Long and unique matters more than making a short password complicated but predictable.
Step 2: Turn On Two-Factor Authentication
Two-factor authentication, also called 2FA, two-step verification, or multi-factor authentication, adds another step when you log in.
Instead of only entering a password, you also confirm it is really you.
That second step may be:
a code from an authenticator app
a code sent by text message
a code sent by email
a push prompt on your phone
a hardware security key
fingerprint or face recognition on a trusted device
For beginners, the important point is simple: a password alone is weaker than a password plus a second step.
If your email provider offers two-factor authentication, turn it on.
Which Two-Factor Method Should You Use?
Use the strongest method you can realistically manage.
A practical order:
Security key, if you understand how to use and store it safely
Authenticator app
Device prompt from your email provider
Text message code
Backup email code, if no better option exists
Text message codes are better than having no second step, but they are not perfect. Phone numbers can be targeted through SIM-swap fraud or number-transfer attacks. If your email provider gives you an authenticator app or security key option, consider using it.
Do not share verification codes with anyone. A common scam is to call or message you and ask for the code “to verify your account.” That code is for you only.
Step 3: Save Backup Codes Properly
When you turn on two-factor authentication, many email providers give backup codes.
These are emergency codes you can use if your phone is lost, broken, stolen, or reset.
Do not ignore them.
Store backup codes:
printed and kept in a safe place
saved in a trusted password manager
stored somewhere not easily accessible to others
Do not store backup codes only inside the same email account. If you lose access to the email, you may not be able to retrieve them.
A common mistake is turning on 2FA, losing the phone, and then being locked out because no backup method was saved.
Step 4: Check Your Recovery Email and Phone Number
Your recovery details decide how you get back in if you forget your password or get locked out.
Check:
recovery email
recovery phone number
backup codes
security questions, if used
trusted devices
account recovery settings
Remove anything old or unsafe.
Examples:
old phone number you no longer use
recovery email you no longer control
ex-employee or old work email
college email you lost access to
security question with an answer visible on social media
backup phone belonging to someone you no longer trust
A recovery phone or email is useful only if it belongs to you and is protected.
Step 5: Review Logged-In Devices and Sessions
Most major email providers let you see where your account is logged in.
Look for:
phones
laptops
tablets
browsers
apps
unknown devices
old devices you sold
public or shared computers
logins from unfamiliar locations
Sign out of anything you do not recognize or no longer use.
Do not panic if the location is approximate. Internet location can sometimes be inaccurate. But if the device, browser, or activity looks wrong, take it seriously.
After signing out unknown sessions, change your password and check security settings again.
Step 6: Check Forwarding Rules and Filters
This is a step many beginners miss.
If someone gets into your email, they may create a forwarding rule that sends a copy of your emails to another address. They may also create filters that hide security alerts, password reset messages, or bank emails.
Check your email settings for:
forwarding addresses
filters
rules
blocked addresses
auto-delete rules
labels or folders that hide important messages
unknown mail apps connected to the account
If you find a forwarding rule or filter you did not create, remove it, change your password, turn on two-factor authentication, and review recent account activity.
Step 7: Remove Unknown Connected Apps
Many services ask for permission to access your email account.
Some are legitimate, such as calendar apps, mail clients, or backup tools. Others may be unnecessary or risky.
Check connected apps or third-party access settings.
Remove access for:
apps you no longer use
old browser extensions
unknown mail tools
services you tried once
apps with broad email access that do not need it
anything you do not recognize
Be careful with work or school accounts. Some connected apps may be required. If unsure, ask the administrator or IT support.
Step 8: Clean Up Old Password Reset Emails
Your inbox may contain old password reset links, account confirmation emails, bank alerts, receipts, and personal documents.
You do not have to delete everything. But you should reduce easy exposure.
Search your inbox for:
password reset
verification code
OTP
invoice
bank
statement
passport
ID
tax
insurance
login
recovery
Delete what you no longer need. Archive or securely store important documents. Do not leave sensitive files scattered if they are no longer required.
Also empty trash if the email provider does not automatically clear it quickly.
Step 9: Learn the Main Phishing Traps
Many email attacks do not start with hacking. They start with tricking you.
Watch for messages that:
say your account is locked
claim payment failed
ask you to update your password through a link
include unexpected attachments
create urgency
claim a delivery problem
say you won a prize
pretend to be your bank, payment app, employer, courier, or email provider
ask for a verification code
use a link that looks slightly wrong
A safer habit:
Do not click login links in unexpected emails.
Instead, open the official app or type the known website address yourself. If the message is real, the alert should usually appear in your account after you log in directly.
Step 10: Separate Important Email From Casual Signups
If possible, do not use your most important email for every random signup.
Consider using:
one main email for banking, official accounts, and recovery
one separate email for shopping and newsletters
one separate email for low-risk signups, trials, and promotions
This reduces clutter and may limit exposure if a shopping or newsletter service has problems.
Do not make this too complicated. If managing three emails is too much, start by creating one separate email for low-value signups.
Step 11: Turn On Login Alerts
Many email providers can alert you when there is a new login or suspicious activity.
Turn on:
new device login alerts
password change alerts
recovery detail change alerts
security alert notifications
two-factor prompt alerts
Do not ignore these alerts. If you receive a login alert you do not recognize, go directly to the email provider’s official app or website and review account activity.
Do not click links inside a suspicious alert. Use the app or known website.
Step 12: Secure the Device You Use for Email
Your email account is only as safe as the device used to open it.
Use these basics:
phone screen lock
computer password
software updates
browser updates
antivirus or security software where appropriate
app updates
avoid installing unknown apps
avoid suspicious browser extensions
avoid logging into email on public computers
sign out from shared devices
If your phone has no lock, anyone holding it may access your email, reset passwords, or read verification codes.
A Simple 30-Minute Email Security Setup
If you are a beginner, use this quick routine.
First 5 Minutes: Change the Password
Create a strong, unique password for your email account. Save it safely.
Next 5 Minutes: Turn On Two-Factor Authentication
Use an authenticator app or the strongest option you can manage. Save backup codes.
Next 5 Minutes: Check Recovery Details
Confirm your recovery email and phone number. Remove old details.
Next 5 Minutes: Review Devices
Sign out of old phones, old browsers, shared computers, or unknown devices.
Next 5 Minutes: Check Forwarding and Connected Apps
Remove unknown forwarding rules, filters, and app access.
Last 5 Minutes: Turn On Alerts
Enable login alerts and security notifications.
This is not perfect security, but it is a strong beginner setup.
Realistic Example 1: One Password Used Everywhere
A reader uses the same password for email, shopping, and a food delivery app. One day, the food app account is compromised. The same password may be tried on the email account.
What to do:
change the email password first
make it unique
turn on two-factor authentication
change reused passwords on other important accounts
use a password manager or built-in password generator
Lesson: Your email password should never be shared with low-risk accounts.
Realistic Example 2: Old Phone Number Still Used for Recovery
A reader changed phone numbers two years ago but forgot to update email recovery settings. The old number remains linked.
What to do:
update recovery phone
add a recovery email you control
save backup codes
review security questions
check recent account activity
Lesson: Recovery settings are part of security, not just convenience.
Realistic Example 3: Hidden Forwarding Rule
A reader notices they are not receiving bank alerts. In email settings, they find a filter moving bank emails to an unknown folder.
What to do:
remove the filter
check forwarding settings
change password
turn on two-factor authentication
review login history
check bank account activity
Lesson: Account takeover is not always obvious. Sometimes the attacker hides important emails.
Common Mistakes Beginners Make
Mistake 1: Thinking “I Am Not Important Enough”
Scammers do not need you to be famous. Email accounts are useful because they unlock other accounts.
Mistake 2: Reusing Passwords
Password reuse is one of the easiest ways one weak account can endanger many others.
Mistake 3: Using Only SMS Codes and Feeling Fully Safe
Text codes are better than no two-factor authentication, but authenticator apps or security keys may offer stronger protection where available.
Mistake 4: Ignoring Recovery Settings
Old recovery emails and phone numbers can create lockout or takeover risk.
Mistake 5: Never Checking Logged-In Devices
Old phones, shared computers, or unknown sessions may remain connected for months.
Mistake 6: Leaving Forwarding Rules Unchecked
Forwarding rules can silently expose messages even after a password change.
Mistake 7: Clicking Email Login Links
For important accounts, go directly through the official app or website instead of clicking unexpected links.
Mistake 8: Sharing Verification Codes
No legitimate support agent should need your one-time login code to “secure” your account.
When to Be Careful
Take immediate action if:
you receive password reset emails you did not request
friends say they received strange emails from you
login alerts show unknown devices
emails disappear or move unexpectedly
your recovery phone or email changed without your action
you cannot log in
bank or payment alerts are missing
you see forwarding rules you did not create
your sent folder has messages you did not send
If you suspect account takeover, use the provider’s official account recovery page. If money or identity information is involved, contact the relevant bank, service provider, or official consumer protection resource.
For work, school, or business email, contact the administrator or IT team quickly. Do not quietly try to fix a work account breach by yourself.
Final Takeaway
Your email account deserves stronger protection than most other accounts because it often controls recovery for the rest of your digital life.
Start with the basics:
use a strong, unique password
turn on two-factor authentication
save backup codes
update recovery email and phone number
review logged-in devices
check forwarding rules and filters
remove unknown connected apps
learn phishing warning signs
secure the phone or computer used for email
Email security is not about being technical. It is about closing the easy doors before someone else opens them.
Reader Discussion
Comments
Comments are reviewed before appearing publicly.Reader comments