One checking account can look simple.
All income goes in. All bills come out. Groceries, fuel, rent, subscriptions, school payments, takeout, pharmacy runs, and online purchases all use the same balance.
Then payday arrives and the account looks healthy.
A few days later, it feels unclear.
Is that money available for groceries?
Or is it waiting for rent?
Did the insurance payment come out?
Is the electricity bill still pending?
Can you spend $120 this weekend, or will that cause trouble next week?
This is the problem with one-account spending.
The balance looks like one number, but it is actually holding several jobs.
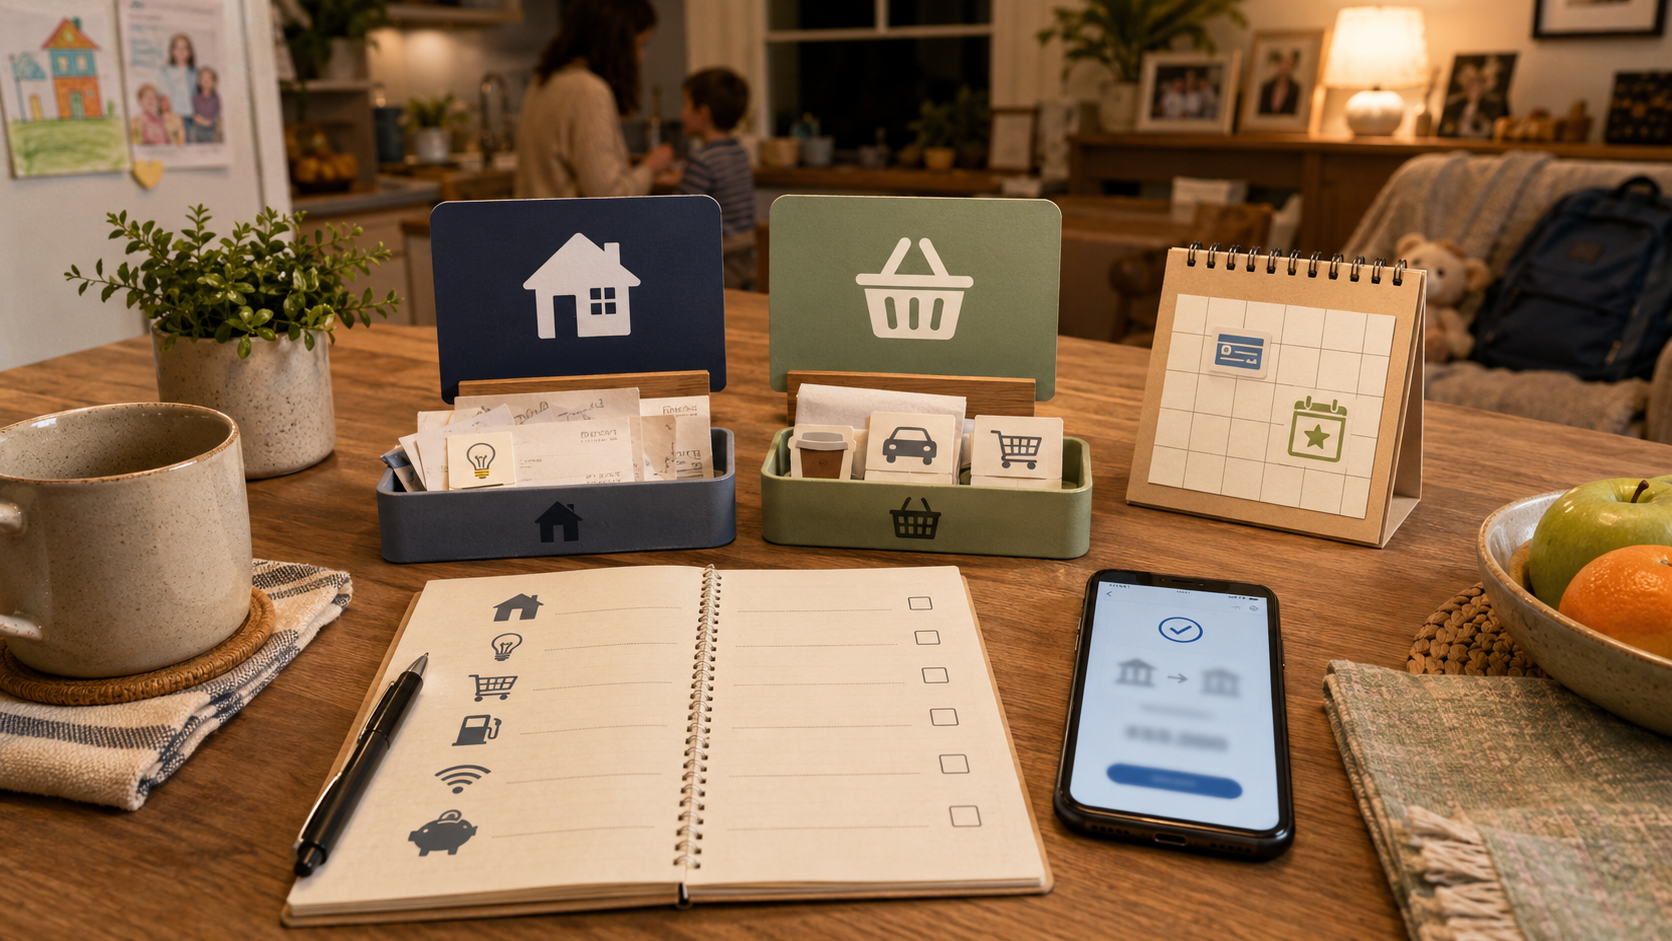
A two-account paycheck system separates those jobs.
One account protects bills.
One account handles flexible spending.
You do not need a complicated budgeting app to start. You need a clear payday routine and two accounts with different purposes.
The basic idea
Use two checking accounts or one checking account plus a separate spendable account.
Account 1: Bills account
This is where fixed and scheduled payments live.
It may cover:
Rent or mortgage
Utilities
Insurance
Loan payments
Credit card payments
Phone bill
Internet
Childcare
School fees
Subscriptions
Minimum debt payments
Automatic transfers to savings
Any bill with a date
Account 2: Spending account
This is for flexible day-to-day spending.
It may cover:
Groceries
Fuel
Takeout
Household supplies
Small shopping
Kids’ small needs
Personal spending
Coffee
Weekend spending
Unplanned but normal expenses
The goal is simple:
When you look at the spending account, you know what is actually available to spend.
The bill money is not mixed in.
Why this works for busy households
Busy households do not always fail because they refuse to budget.
They fail because money timing is confusing.
Bills do not all arrive on payday. Some come at the start of the month. Some come after the second paycheck. Some subscriptions quietly renew. Some school or family costs appear midweek. Meanwhile, everyone still needs groceries and transport.
A two-account system reduces one major problem:
You stop accidentally spending bill money.
It creates a wall between money that must stay ready and money that can move through daily life.
This is especially useful if:
Two adults spend from the same account
Bills are on autopay
Paychecks arrive twice a month or every two weeks
Income is steady but timing feels tight
You often forget what has not cleared yet
You dislike detailed budget apps
You need a simple visual rule
The system does not make income bigger. It makes the current money easier to understand.
Step 1: List every bill that has a due date
Start with your fixed and scheduled payments.
Write down every bill that happens monthly, yearly, quarterly, or regularly.
Include:
Rent or mortgage
Electricity
Gas
Water
Trash
Internet
Phone
Insurance
Car payment
Student loan
Credit card minimums
Personal loan
Childcare
School fees
Streaming subscriptions
Software subscriptions
Gym membership
Medical payment plans
Storage unit
Memberships
Automatic savings transfer
For each one, write:
Amount
Due date
Whether it is autopay
Which account pays it now
Whether the amount changes
Whether it is monthly, annual, or irregular
Do not try to fix anything yet.
Just collect the facts.
Step 2: Find your monthly bill number
Add up all regular monthly bills.
Example:
Rent: $1,600
Electricity: $160
Internet: $70
Phone: $120
Car insurance: $140
Car payment: $350
Subscriptions: $55
Credit card minimums: $100
Savings transfer: $100
Monthly bill number: $2,695
This number tells you how much must be protected before flexible spending begins.
If some bills change, use a realistic average or slightly higher estimate.
For example, if electricity is usually between $120 and $180, use $180 until you understand the pattern better.
The bill account should be boring and safe, not optimized to the last dollar.
Step 3: Convert the monthly bill number into a paycheck transfer
Now match the bill number to your pay schedule.
If paid twice a month:
Monthly bills ÷ 2 = amount to move into bills account each paycheck
If paid every two weeks:
Monthly bills × 12 ÷ 26 = amount to move into bills account each paycheck
If paid weekly:
Monthly bills × 12 ÷ 52 = amount to move into bills account each paycheck
Example for twice-a-month pay:
Monthly bills: $2,695
Paychecks per month: 2
Transfer per paycheck: $1,347.50
Round up if possible.
In this example, the household may transfer $1,350 from each paycheck into the bills account.
The rest can go to spending, savings, debt payoff, or other goals depending on the household plan.
Step 4: Choose which account receives the paycheck
There are two common setups.
Setup A: Paycheck enters bills account first
The paycheck lands in the bills account.
Then you transfer spending money to the spending account.
This works well if you want to protect bills first.
Example:
Paycheck arrives: $2,400
Bills transfer stays: $1,350
Move to spending account: $850
Move to savings or debt goal: $200
The bills account is the control center.
Setup B: Paycheck enters main account, then bills transfer moves out
The paycheck lands in the existing main account.
Then you transfer the bill amount into a separate bills account.
This works well if you do not want to change direct deposit immediately.
Example:
Paycheck arrives: $2,400
Move to bills account: $1,350
Spending remains: $850
Move to savings or goal: $200
Either setup can work.
The important rule is that bill money moves before daily spending begins.
Step 5: Move automatic bills to the bills account slowly
Do not move every autopay in one night if you are unsure.
Start with the biggest and clearest bills:
Rent or mortgage
Utilities
Insurance
Phone
Internet
Loan payments
Before changing each bill, check:
Next due date
Current payment method
New bank account details
Whether the change takes effect immediately or next cycle
Whether a confirmation email is sent
Whether the old payment method is removed
Whether a test payment is needed
For the first month, watch both accounts carefully.
Some autopay changes take time. You do not want the old account and new account both being used unexpectedly.
Step 6: Keep a starter cushion in the bills account
A bills account should not sit at zero.
Keep a cushion for timing differences.
Reasons:
A bill may be higher than expected.
A payment may process early.
A transfer may be delayed.
A paycheck may arrive late.
A billing date may shift because of weekends or holidays.
A subscription may renew unexpectedly.
A utility bill may spike.
Start small if needed.
Possible cushion goals:
$100 starter cushion
Half of the largest bill
One full utility cycle
One full paycheck’s bill transfer
One month of fixed bills, as a larger long-term goal
Do not let the perfect cushion stop you from starting.
Even a small cushion is better than running the bills account down to exact zero.
Step 7: Give the spending account a weekly limit
The spending account is easier to manage when it has a weekly number.
Suppose after bills and savings, a household has $1,000 left for flexible spending until the next paycheck.
If the next paycheck is two weeks away:
$1,000 ÷ 2 = $500 per week
That weekly number covers groceries, fuel, small shopping, household items, and normal flexible spending.
You can split it further if needed:
Groceries: $300
Fuel: $80
Household items: $50
Personal spending: $70
But you do not have to.
The main rule is:
When the spending account is low, spending slows down. Bills remain protected.
That is the value of the second account.
Step 8: Use alerts on both accounts
Alerts are part of the system.
Set alerts for the bills account:
Low balance
Large withdrawal
Bill payment posted
Deposit received
Transfer failed
Overdraft or insufficient funds warning, if available
Set alerts for the spending account:
Low balance
Debit card purchase over a chosen amount
ATM withdrawal
Online purchase
Weekly balance reminder
Deposit or transfer received
The alert thresholds should match your real life.
A $25 low-balance alert may be too late for a household that still needs groceries and fuel before payday.
Choose a number that gives you time to adjust.
Step 9: Keep debit cards separate
To protect the system, do not casually spend from the bills account.
Options:
Do not carry the bills-account debit card.
Lock the card in the banking app if available.
Keep it at home in a safe place.
Use the spending account debit card for daily purchases.
Label the cards if they look similar.
Use different card designs if the bank allows it.
Remove the bills-account card from shopping apps.
The bills account should be slightly inconvenient to spend from.
That is not a flaw. That is the protection.
Step 10: Handle irregular bills before they surprise you
Some bills do not happen monthly.
Examples:
Annual insurance
Car registration
Property tax
School fees
Holiday travel
Membership renewals
Yearly software
Medical deductibles
Back-to-school costs
Vehicle maintenance
If you ignore these, the two-account system will still get surprised.
Create a small sinking fund or add a monthly amount to the bills account.
Example:
Car registration due once a year: $240
$240 ÷ 12 = $20 per month
Annual software renewal: $120
$120 ÷ 12 = $10 per month
Total extra monthly set-aside: $30
This makes irregular bills less dramatic.
If a separate savings account is better for these items, use that. The key is not to pretend annual bills are unexpected.
Step 11: Decide where savings fits
The two-account system is mainly about bills and spending.
Savings can be added in two ways.
Option 1: Savings moves from paycheck first
Paycheck arrives.
Bills amount moves.
Savings amount moves.
Remaining money goes to spending.
This works if you want savings protected early.
Option 2: Savings comes after bills cushion
Paycheck arrives.
Bills amount moves.
Spending amount moves.
Anything left above the bills cushion goes to savings.
This works if cash flow is tight and you are still building stability.
Start small.
Even an automatic transfer of $10, $20, or $25 per paycheck can build the habit without breaking the system.
Step 12: Make a payday script
A payday script is a short routine you repeat every time money arrives.
Example:
Confirm paycheck arrived.
Move bill amount to bills account.
Move savings amount, if planned.
Check next two weeks of bills.
Transfer flexible spending amount.
Check spending account weekly limit.
Update any bill changes.
Stop.
This should take less than 10 minutes.
The script matters because payday can make money feel temporarily larger than it is.
The script assigns the money before the household spends it.
Step 13: Use a “pending bills” note
Some bills are not paid yet but are coming soon.
Keep a small note inside your banking app, phone, notebook, or calendar.
Write:
Upcoming before next paycheck:
Rent, Jan. 28, $1,600
Internet, Jan. 30, $70
Insurance, Feb. 2, $140
Phone, Feb. 5, $120
This prevents the mistake of seeing money in the bills account and thinking it is extra.
The bills account balance is not spending money. It is waiting money.
Step 14: Add a weekly household check
If more than one person spends money, do a five-minute weekly check.
Ask:
What is in the spending account?
What bills are coming before payday?
Are any bills higher than expected?
Are groceries covered?
Do we need to slow spending?
Did anyone use the wrong card?
Is anything due at school, work, or home?
Are any subscriptions renewing?
Do not turn this into a long money argument.
The goal is shared visibility.
A busy household needs a simple shared picture.
Step 15: Watch for fees
Before opening a second account, check account terms.
Look for:
Monthly maintenance fee
Minimum balance requirement
Direct deposit requirement
Transfer limits
ATM fees
Overdraft settings
Paper statement fee
Inactivity fee
Debit card fee
Bill-pay fee
External transfer timing
Account closing fee, if any
A second account should simplify money, not create new fees.
If your current bank makes this expensive, compare credit unions, online banks, or no-fee checking options available to you.
Do not open an account you do not understand.
Step 16: Avoid overdraft links that defeat the system
Some banks let one account cover overdrafts from another account.
This can be useful in emergencies, but it can also weaken the wall between bills and spending.
For example:
Spending account goes low.
A debit purchase pulls extra from the bills account.
Now a bill payment may be short.
Decide carefully whether overdraft protection should connect these two accounts.
If you use it, set alerts so you know immediately when money moves.
The system works best when spending cannot silently steal from bills.
Step 17: Fix mistakes without abandoning the system
The first month may be messy.
You may forget a bill. A subscription may pull from the old account. A transfer may be too small. Groceries may run high. Someone may use the wrong card.
Do not quit.
Adjust the system.
Common fixes:
Increase the bill transfer amount.
Add a bills-account cushion.
Move one forgotten autopay.
Raise or lower weekly spending.
Add a separate irregular-bills fund.
Change bill due dates where possible.
Add alerts.
Remove the bills card from shopping apps.
Schedule payday transfers automatically.
A system becomes useful after real-life corrections.
A simple example
A household receives two paychecks per month.
Total monthly fixed bills: $3,200
Monthly savings goal: $200
Monthly flexible spending target: $1,400
Each paycheck:
Bills account: $1,600
Savings: $100
Spending account: $700
Bills are paid from the bills account.
Groceries, fuel, and daily purchases come from the spending account.
If the spending account gets low, the family knows to slow down. They do not panic about rent because rent money is already separated.
That is the point.
The system does not require tracking every coffee forever. It simply prevents coffee, groceries, and weekend spending from eating the rent money by accident.
The easiest starter version
If the full system feels like too much, start with one change:
Open or use a separate bills account.
Then move only these bills first:
Rent or mortgage
Utilities
Insurance
Phone
Internet
After one month, add subscriptions, debt payments, and savings transfers.
Do not wait for the perfect setup.
Start with the bills that would hurt most if missed.
When this system may not fit
A two-account system may not be enough if:
Income changes wildly every week
Bills are already behind
Overdraft fees are frequent
Debt payments exceed available income
There is financial abuse or one person controls access to money
Bank fees make extra accounts expensive
Cash income is hard to deposit regularly
A household member cannot safely access the account
In those situations, the household may need a different plan, professional nonprofit credit counseling, legal help, benefits support, or a safer money arrangement.
This article is a household cash-flow system, not a solution for every financial problem.
Final thought
A busy household does not always need a complex budget.
Sometimes it needs clearer containers.
One account for bills. One account for spending.
The bills account protects money that already has a job. The spending account shows what is actually available for daily life.
When payday arrives, assign the money before the week gets busy. Move bill money first. Set a spending amount. Keep a cushion. Use alerts. Check in once a week.
The system is simple because busy households need simple.
Money should not look available when it is already spoken for.
Reader Discussion
Comments
Comments are reviewed before appearing publicly.Reader comments